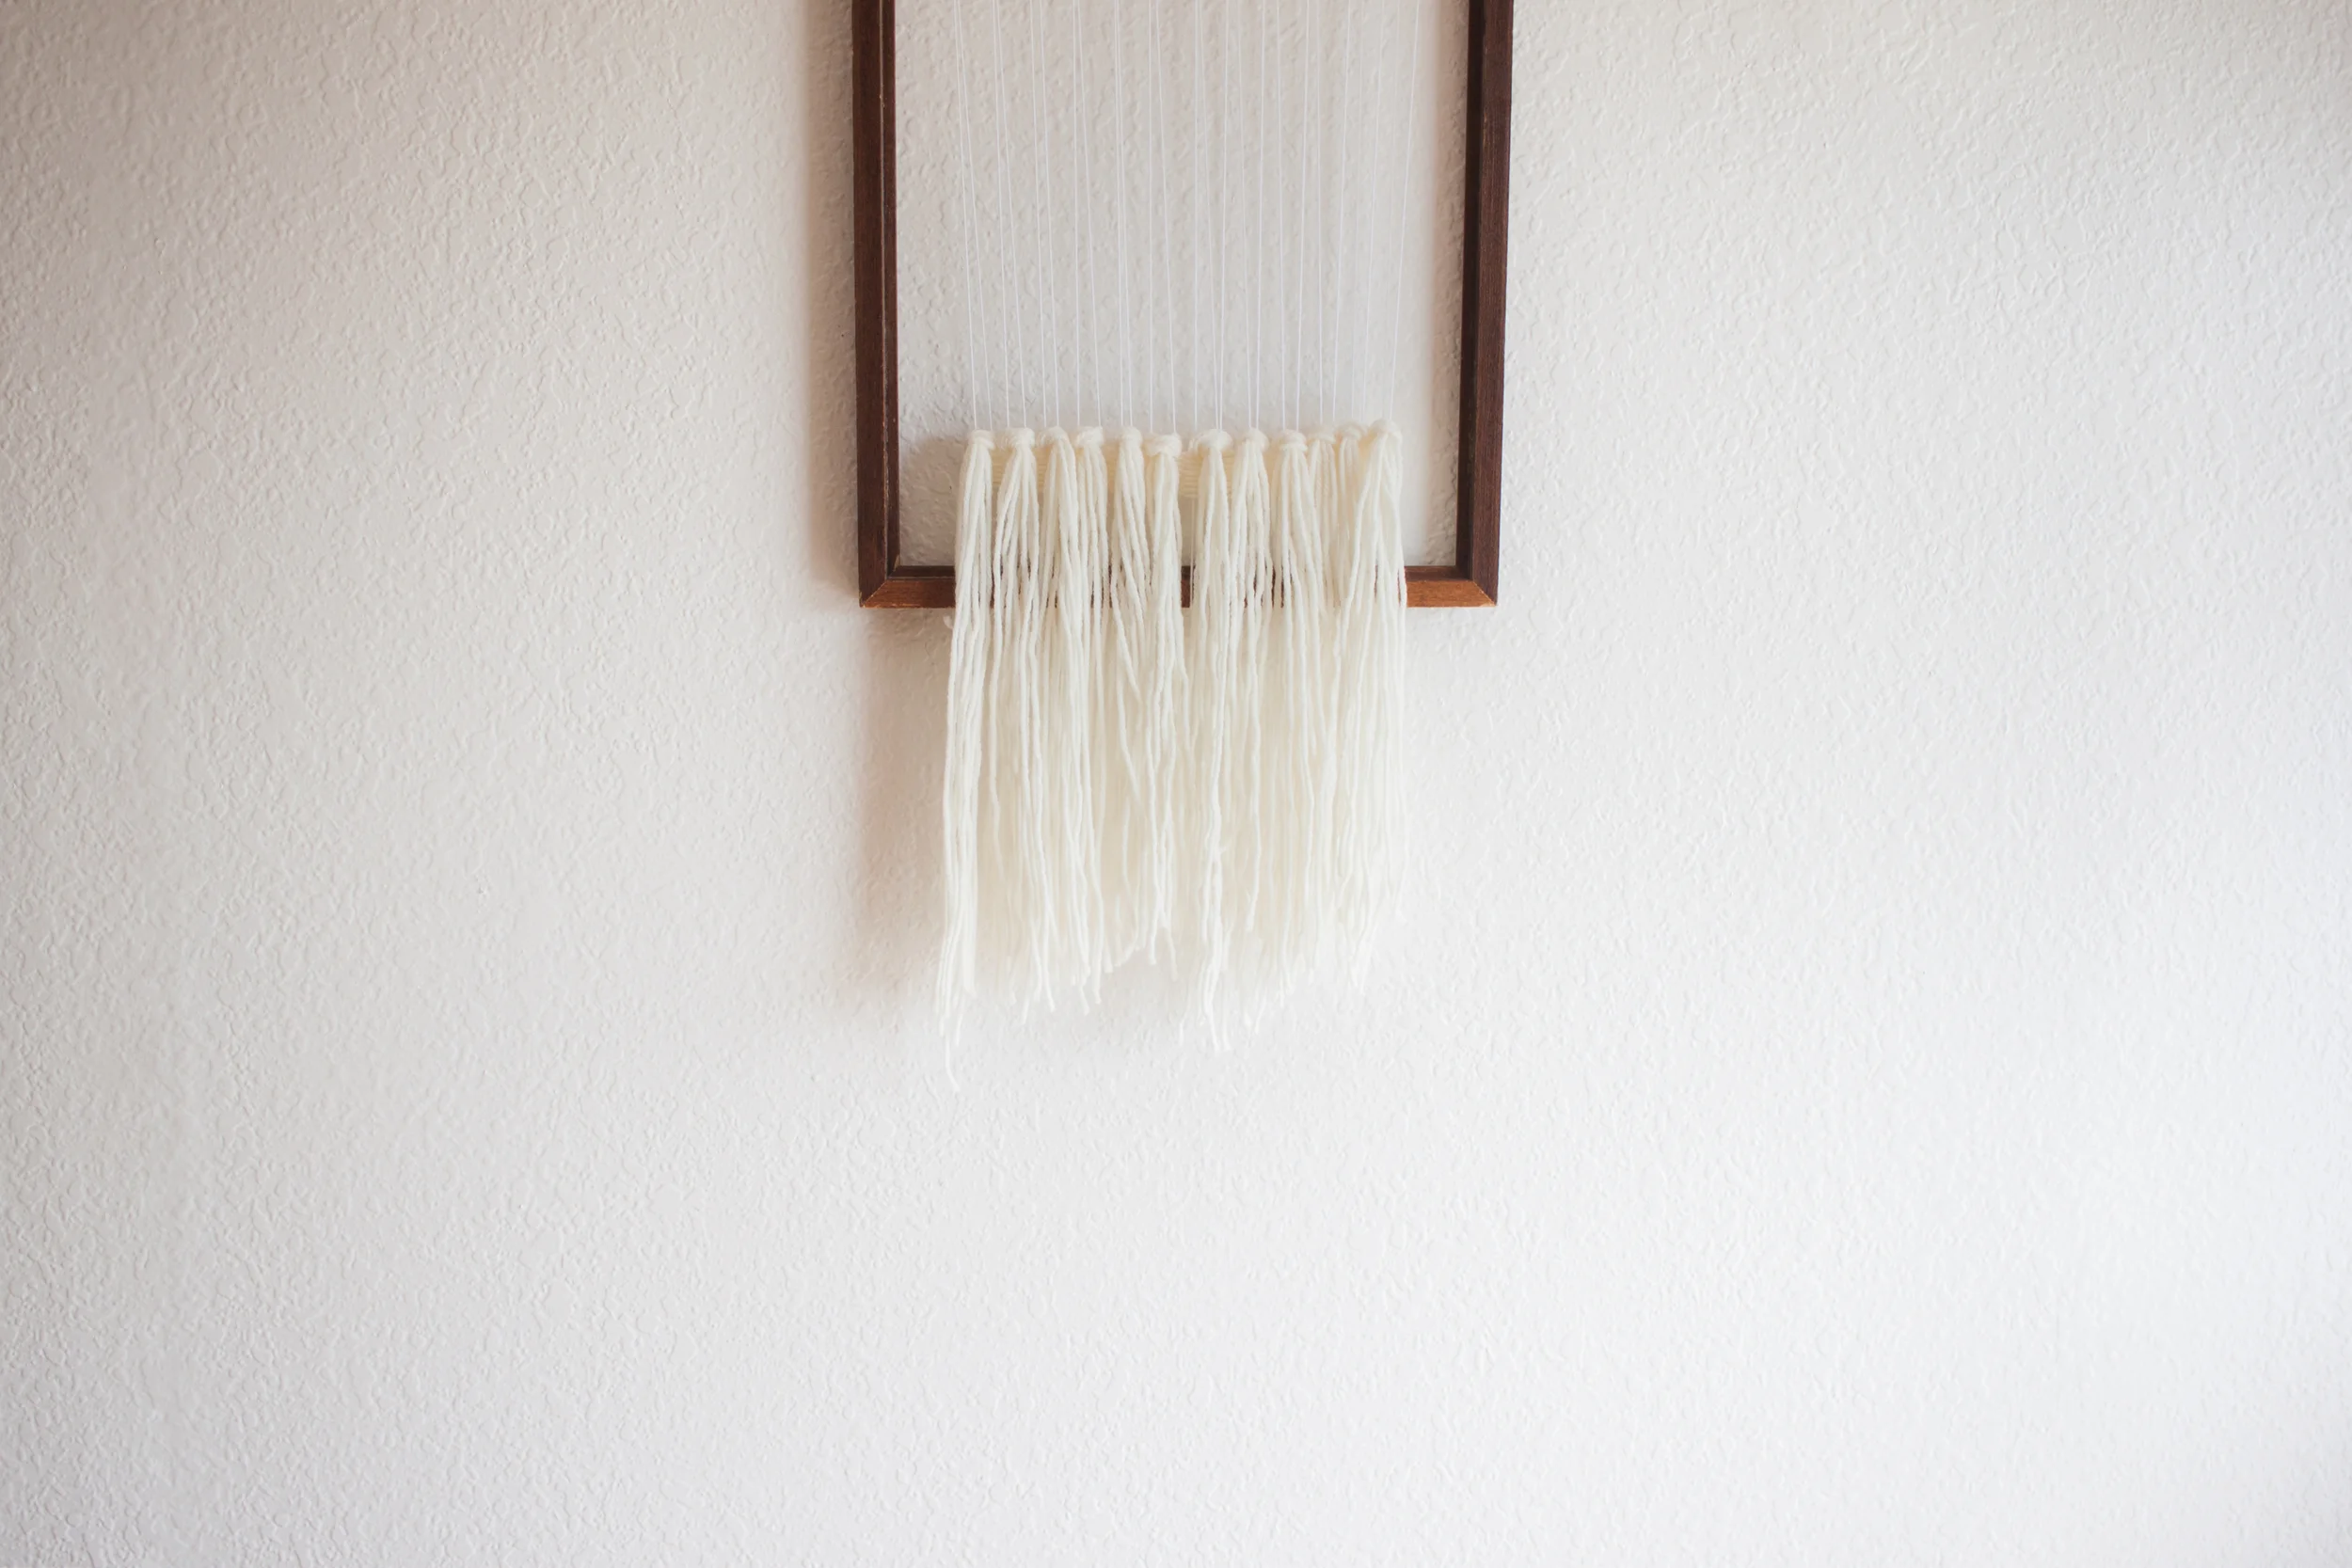
Is it just me, or are you seeing beautiful wall hangings all over the place these days too? It didn't take long for me to fall in love and almost buy one. Thank goodness for Pinterest and all the great tutorials – I decided I should probably have a go at weaving, before pulling out the credit card.
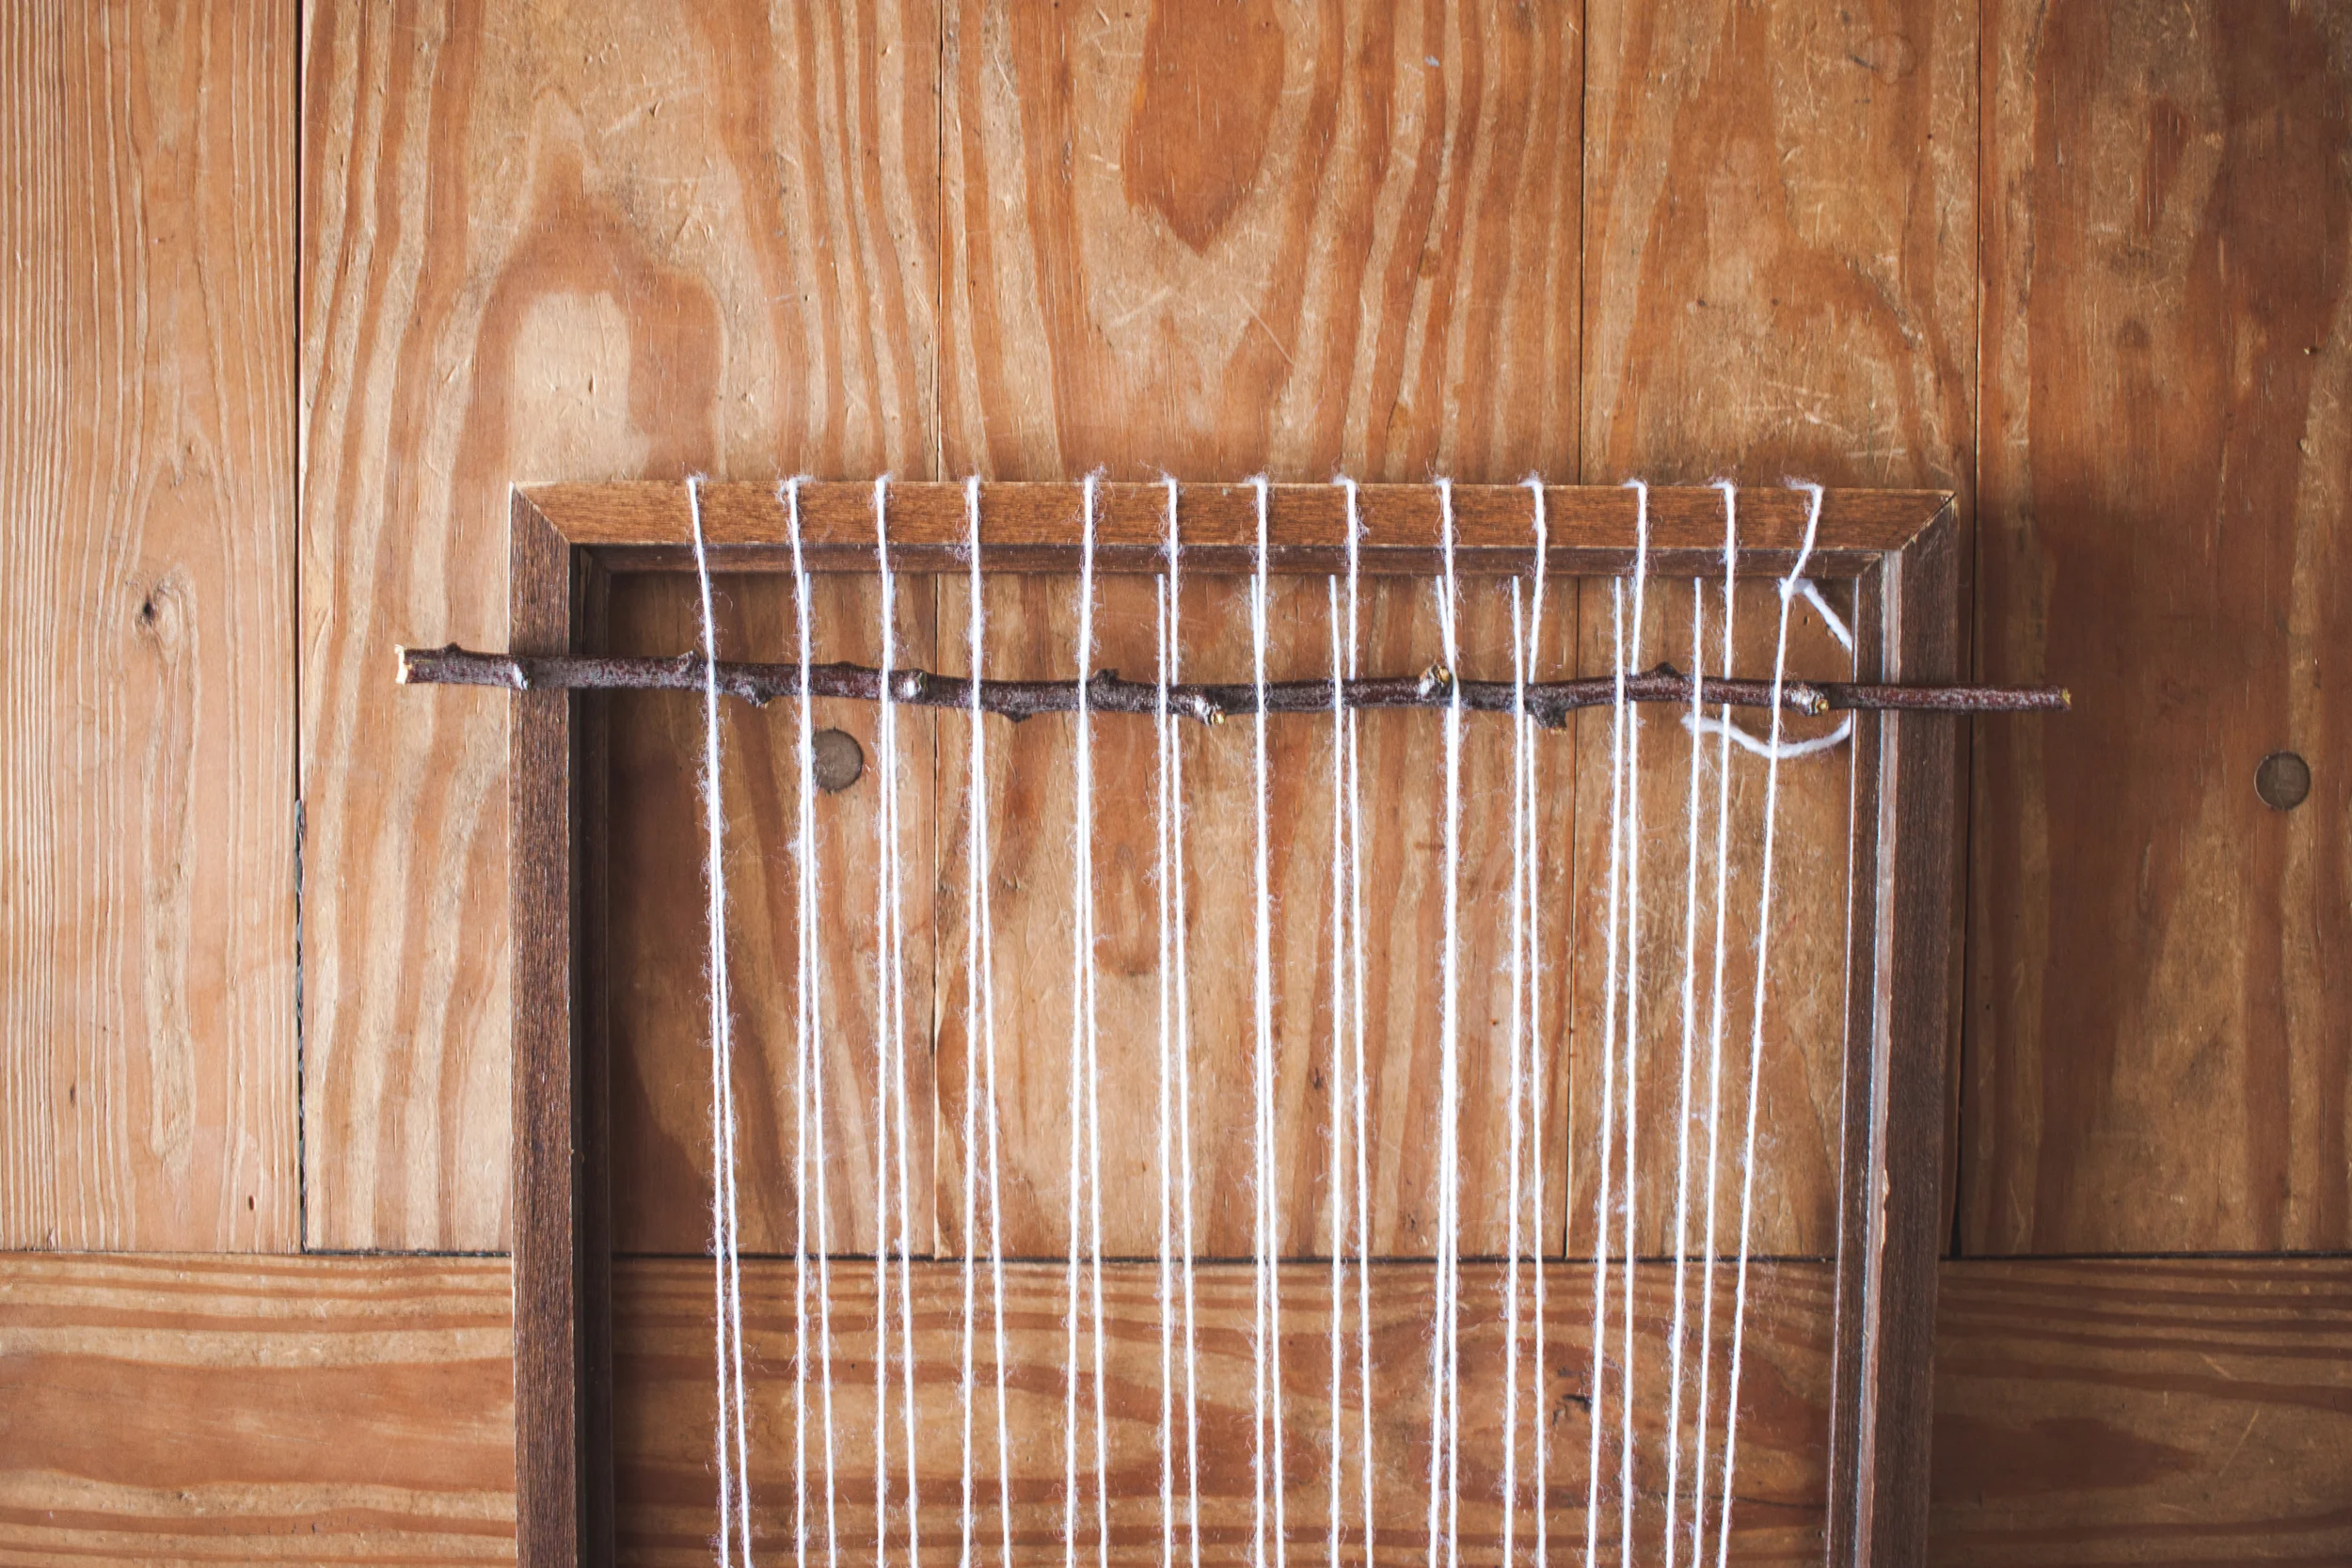
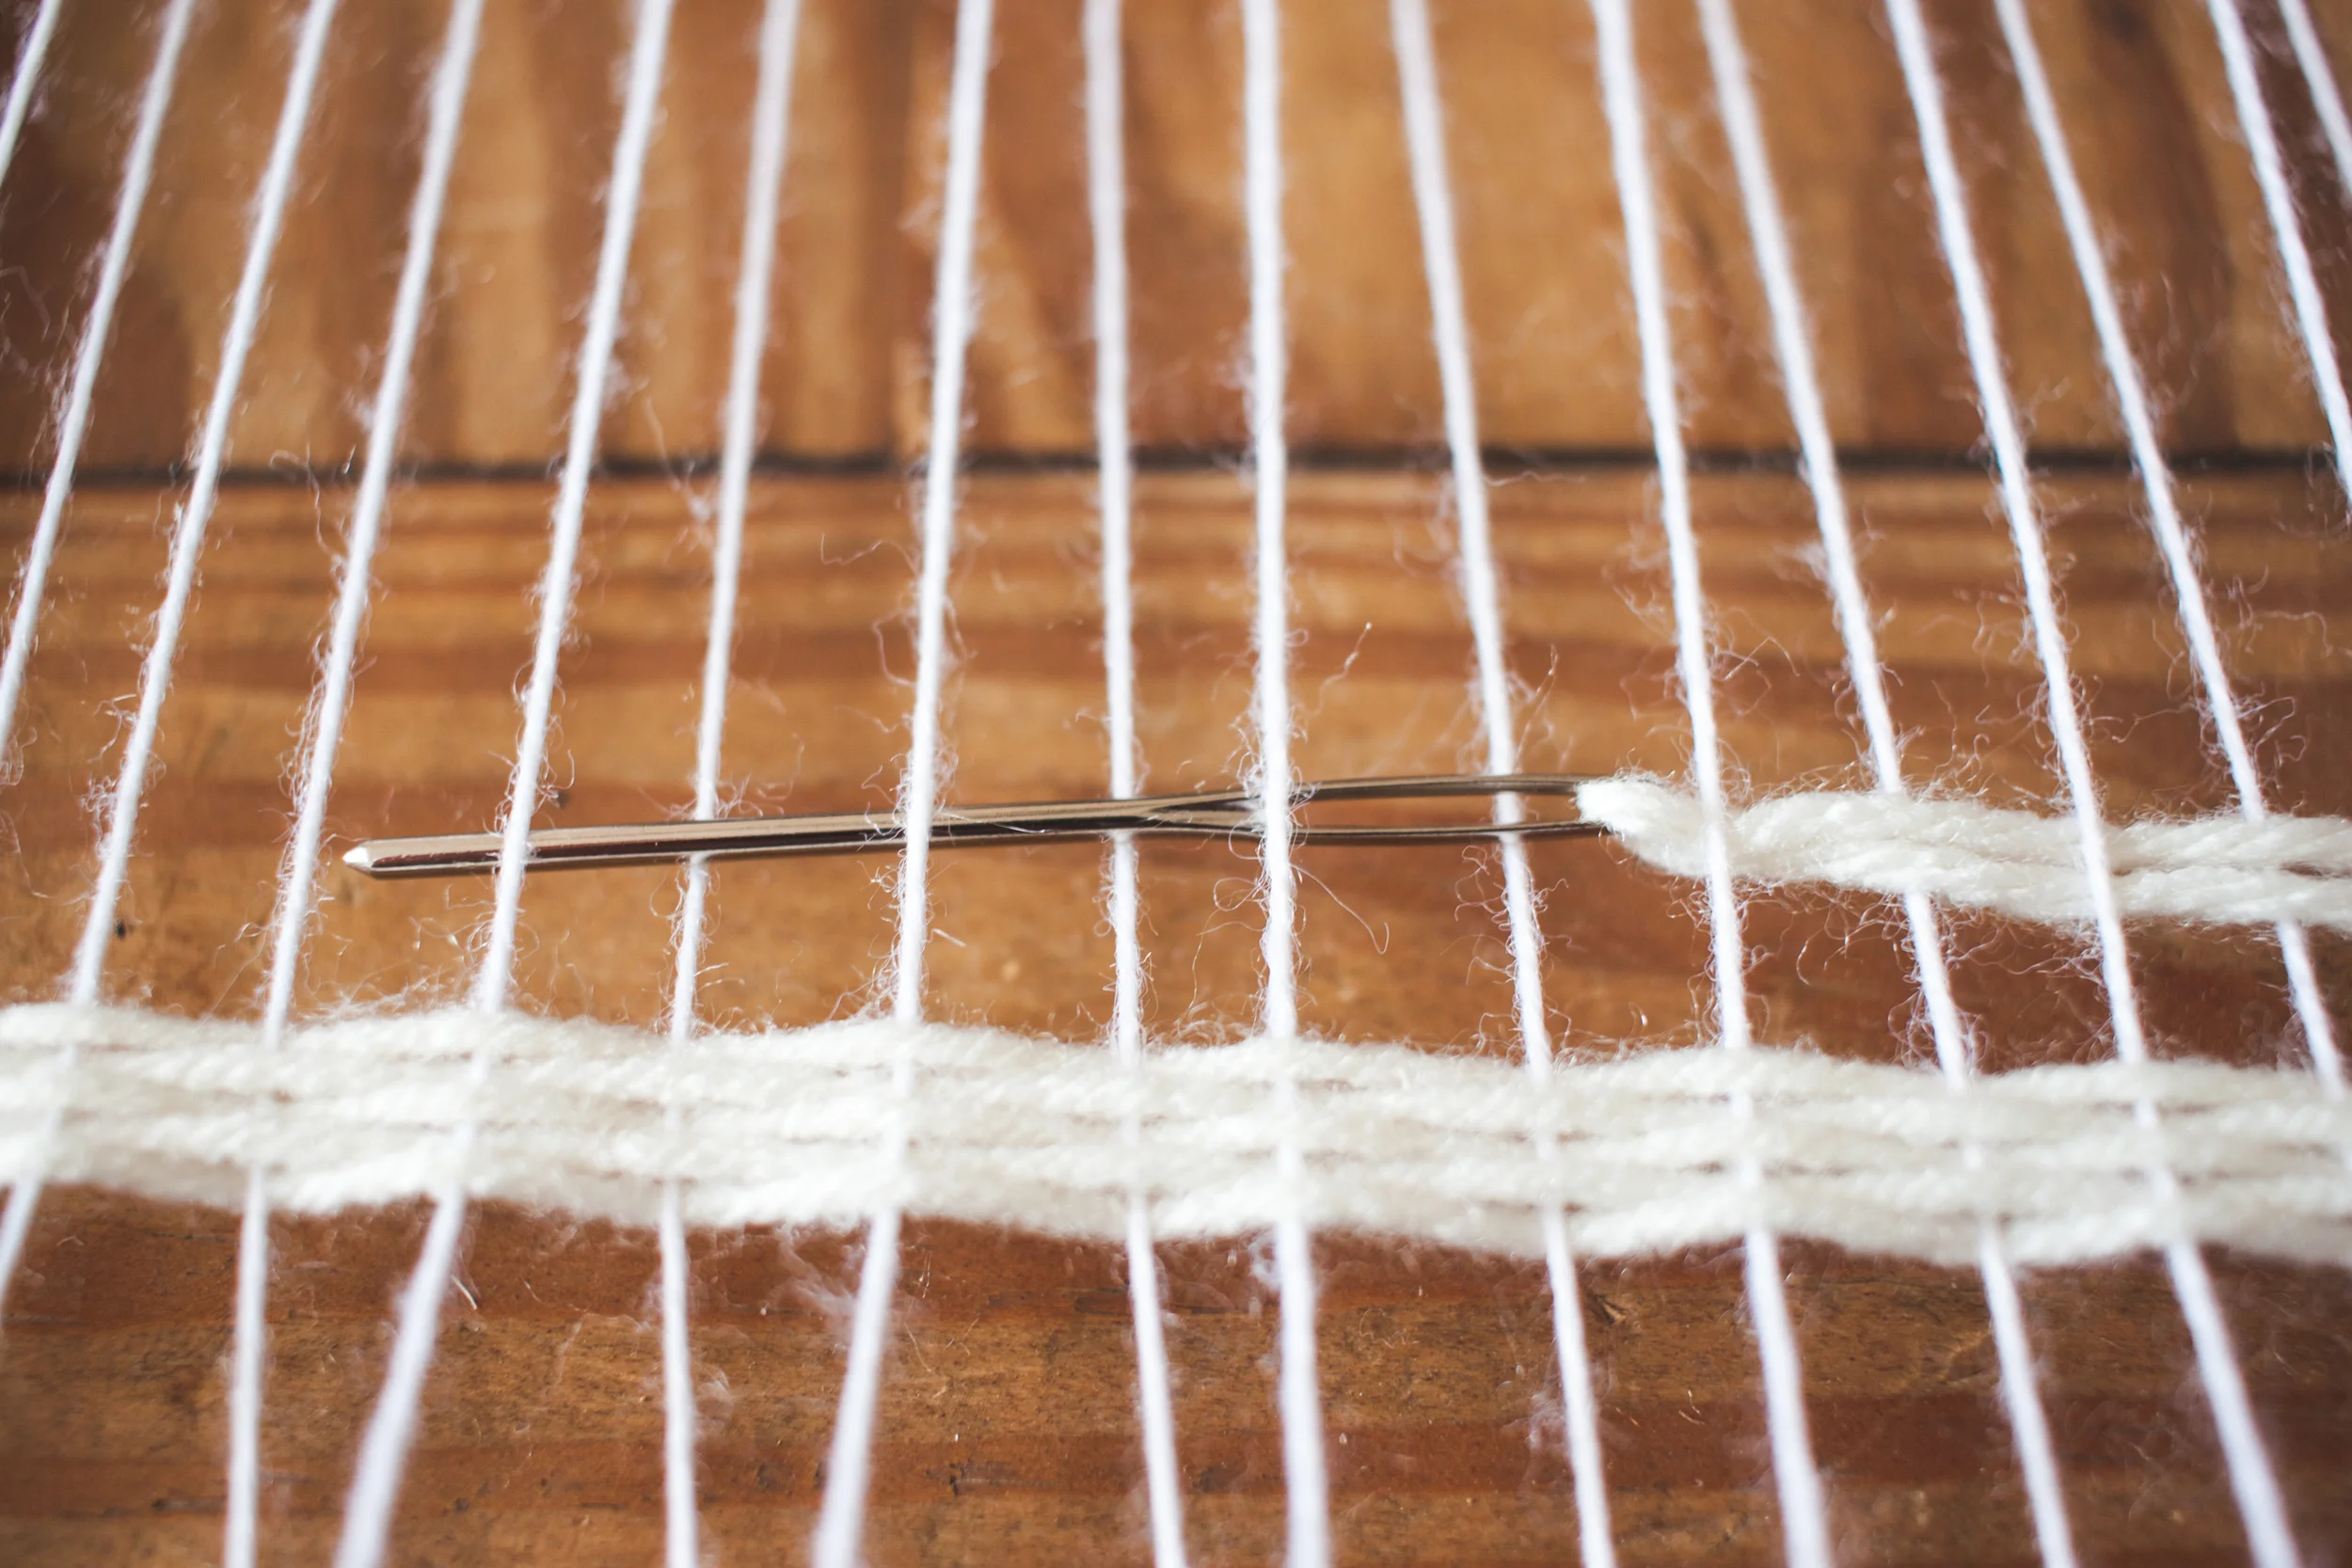
And as it turns out, weaving isn't all that hard to learn. A loom can easily be made using an empty frame, yarn, and stick. I used a large-eye blunt-needle to carry the weft (or woof) through the warp (click the links to find out what in the heck those words mean). Lastly, a fork and scissors will be needed.
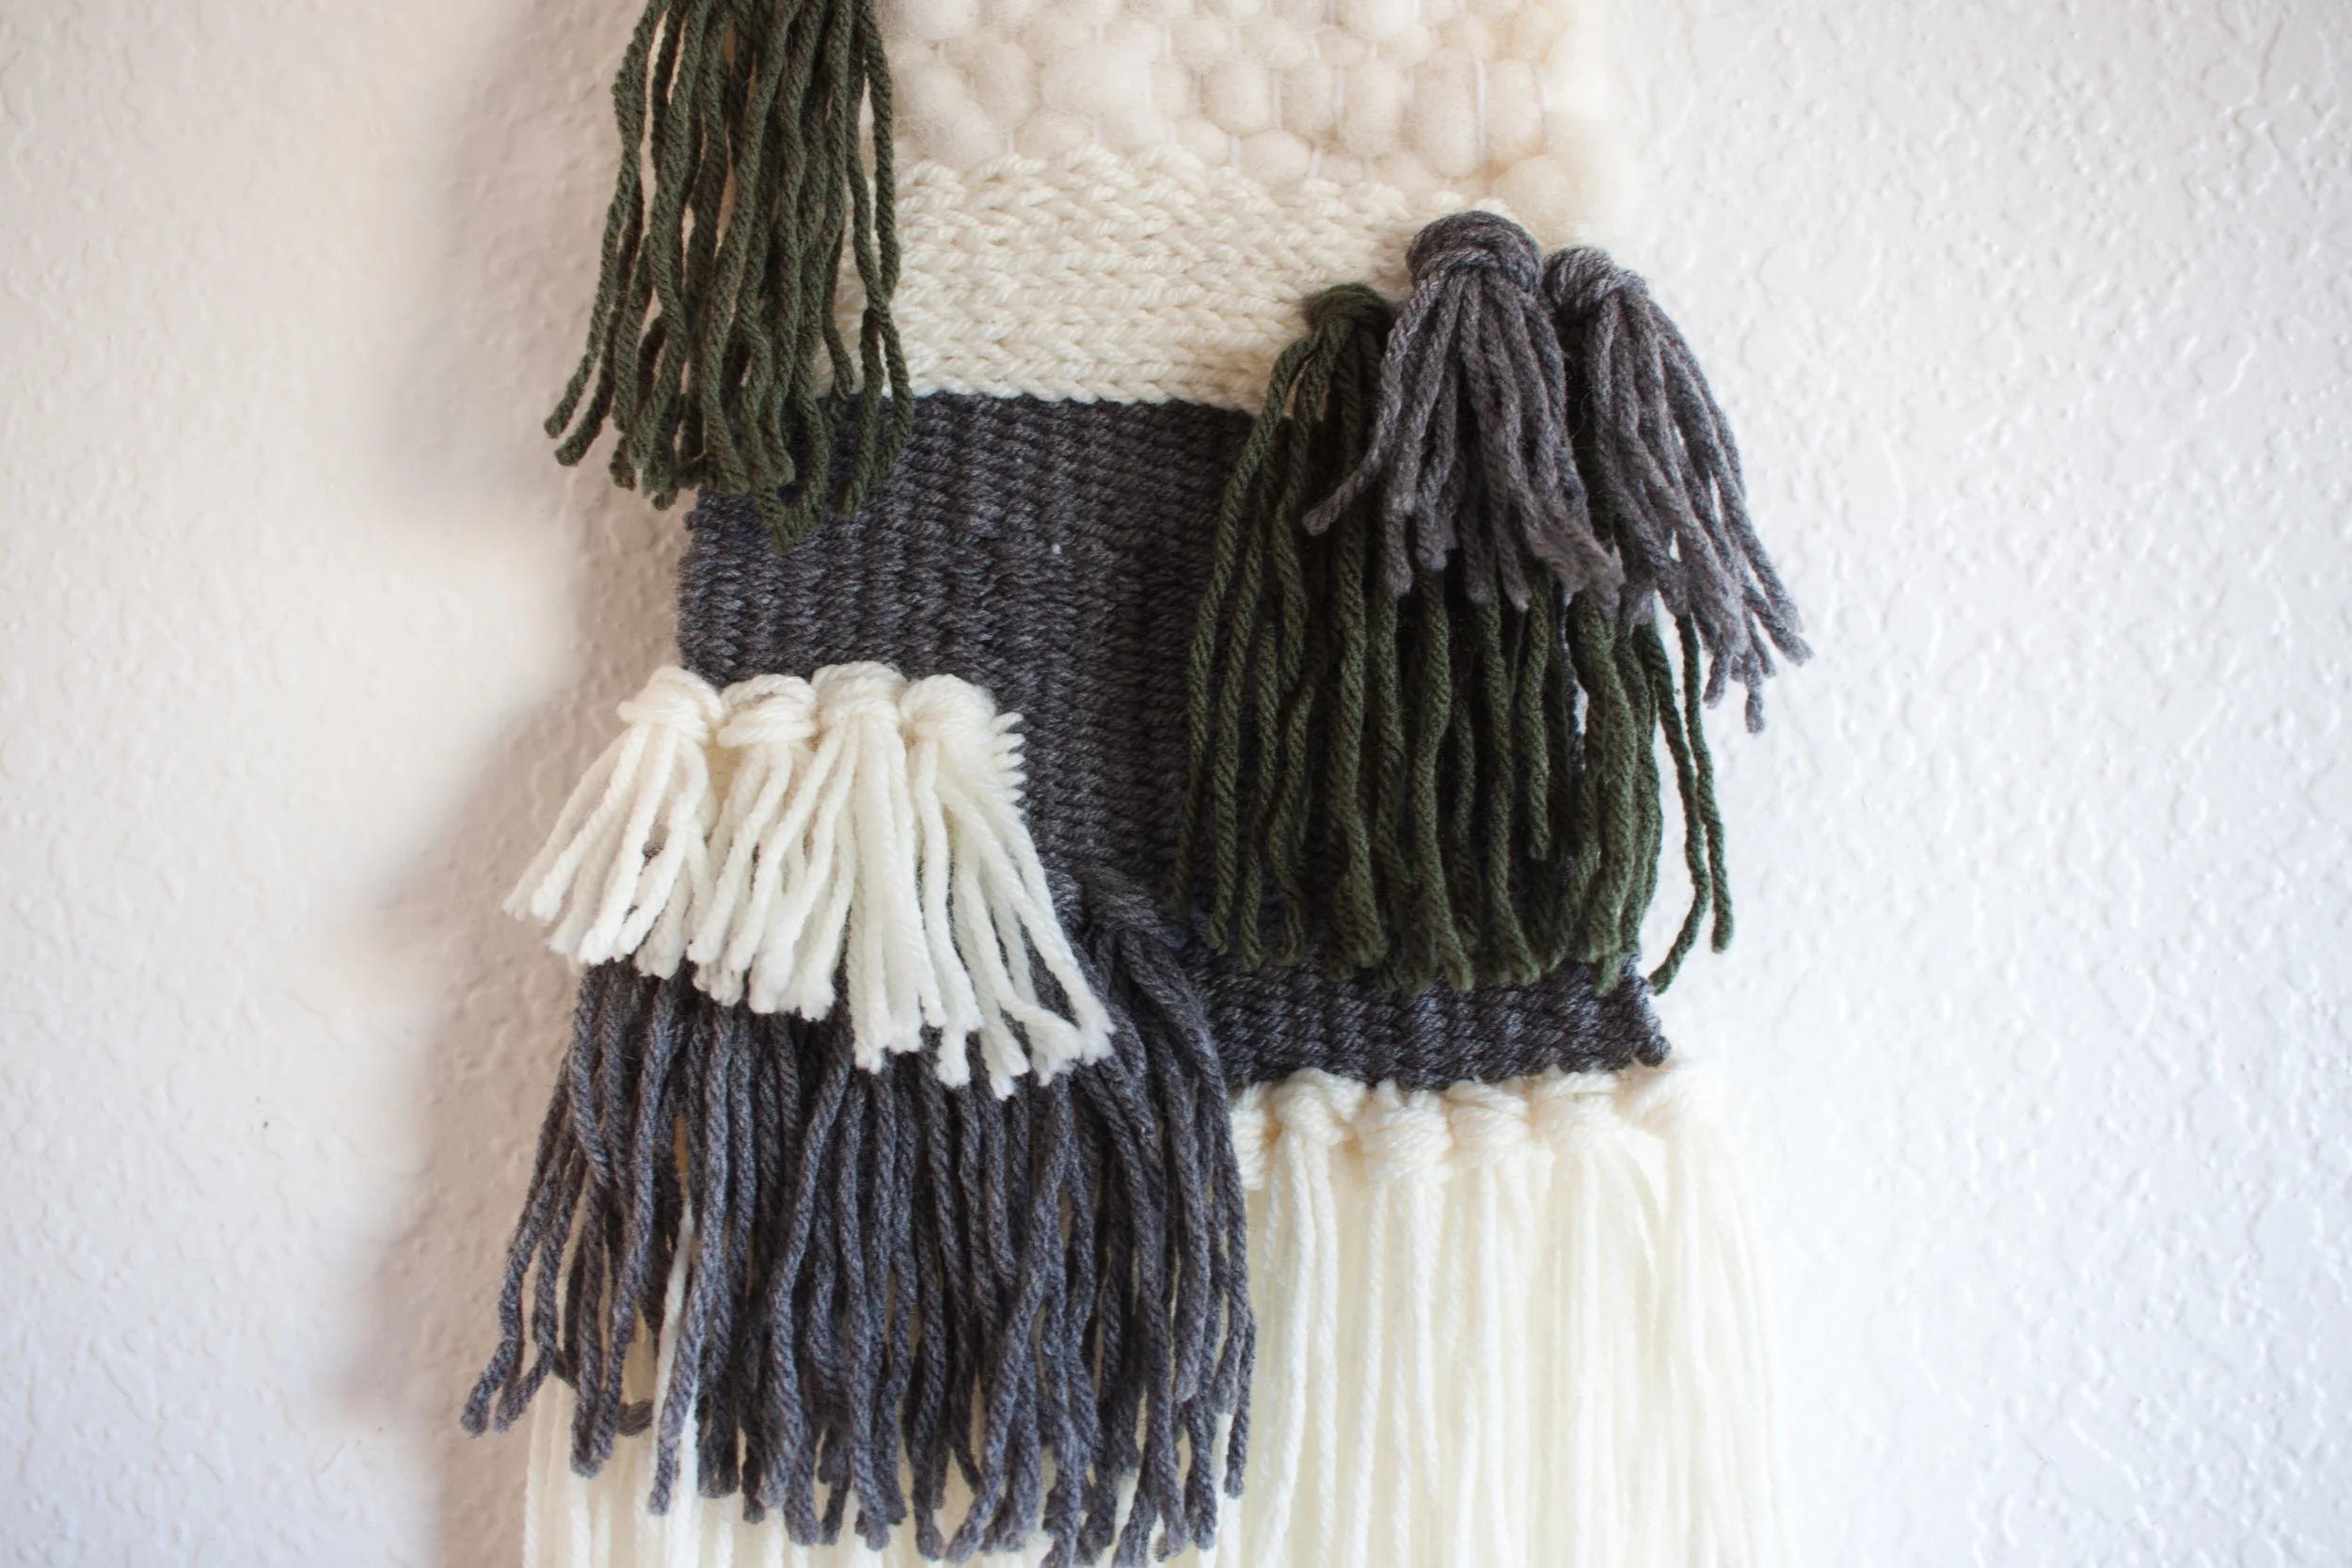
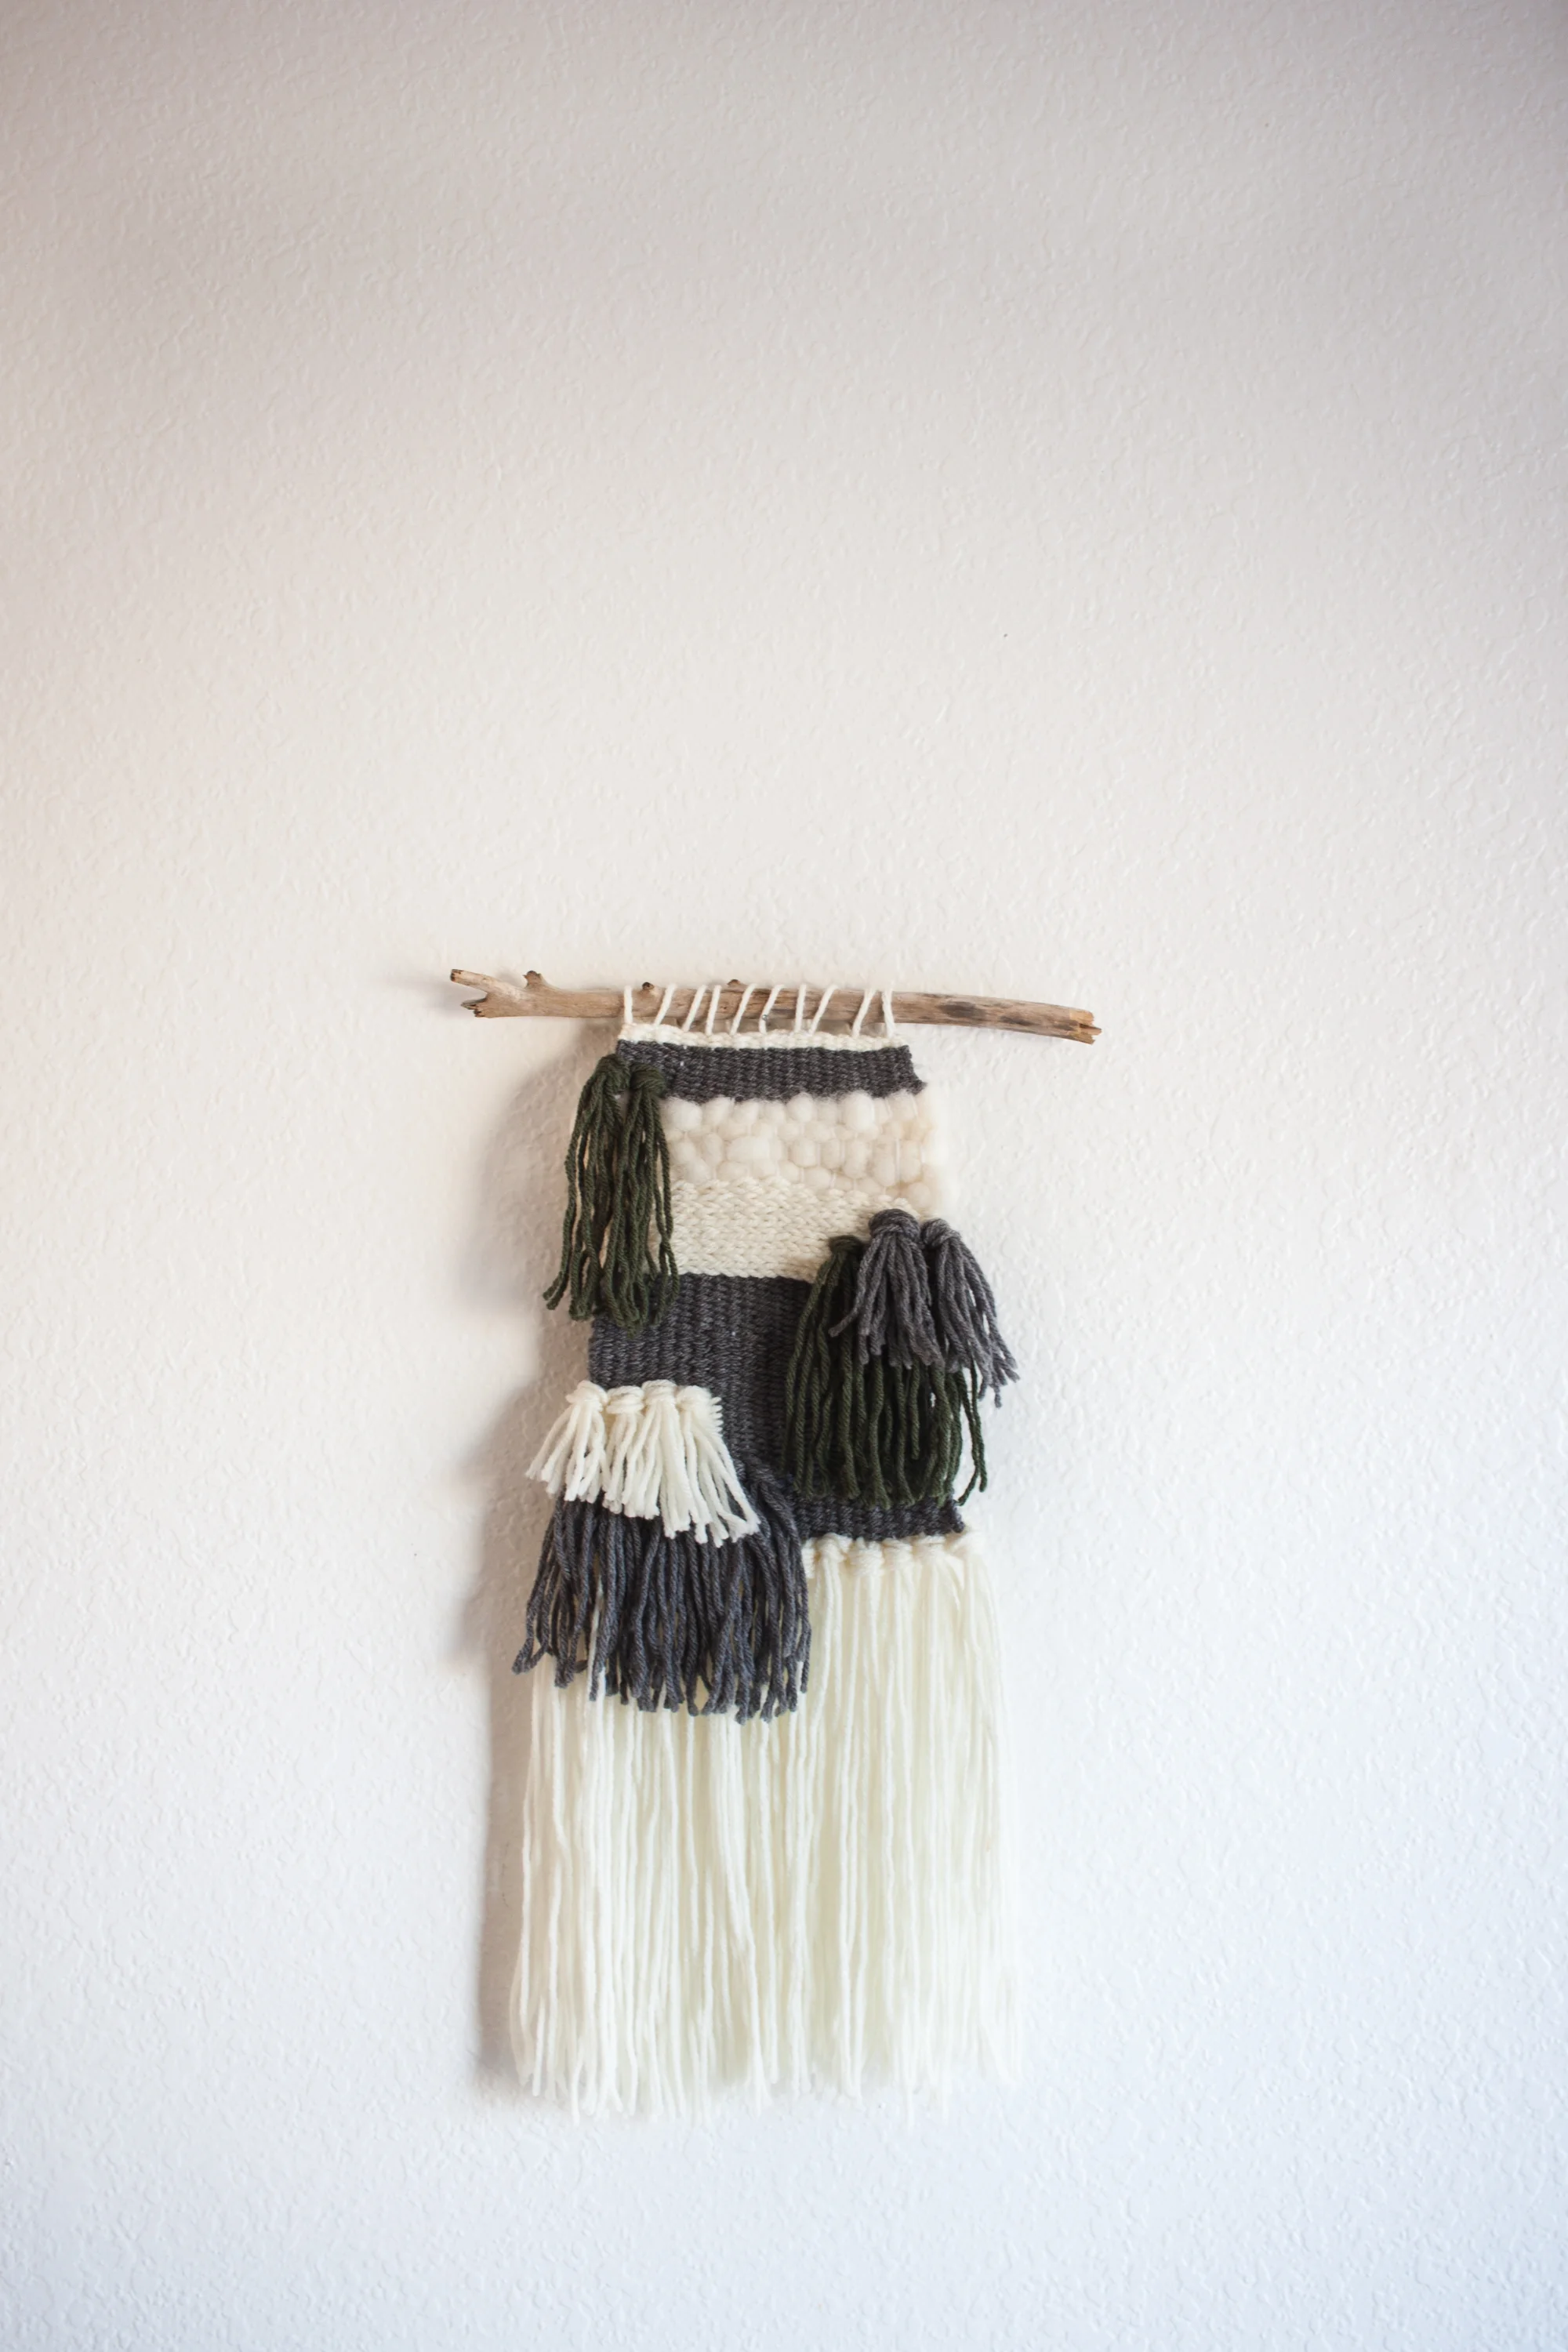
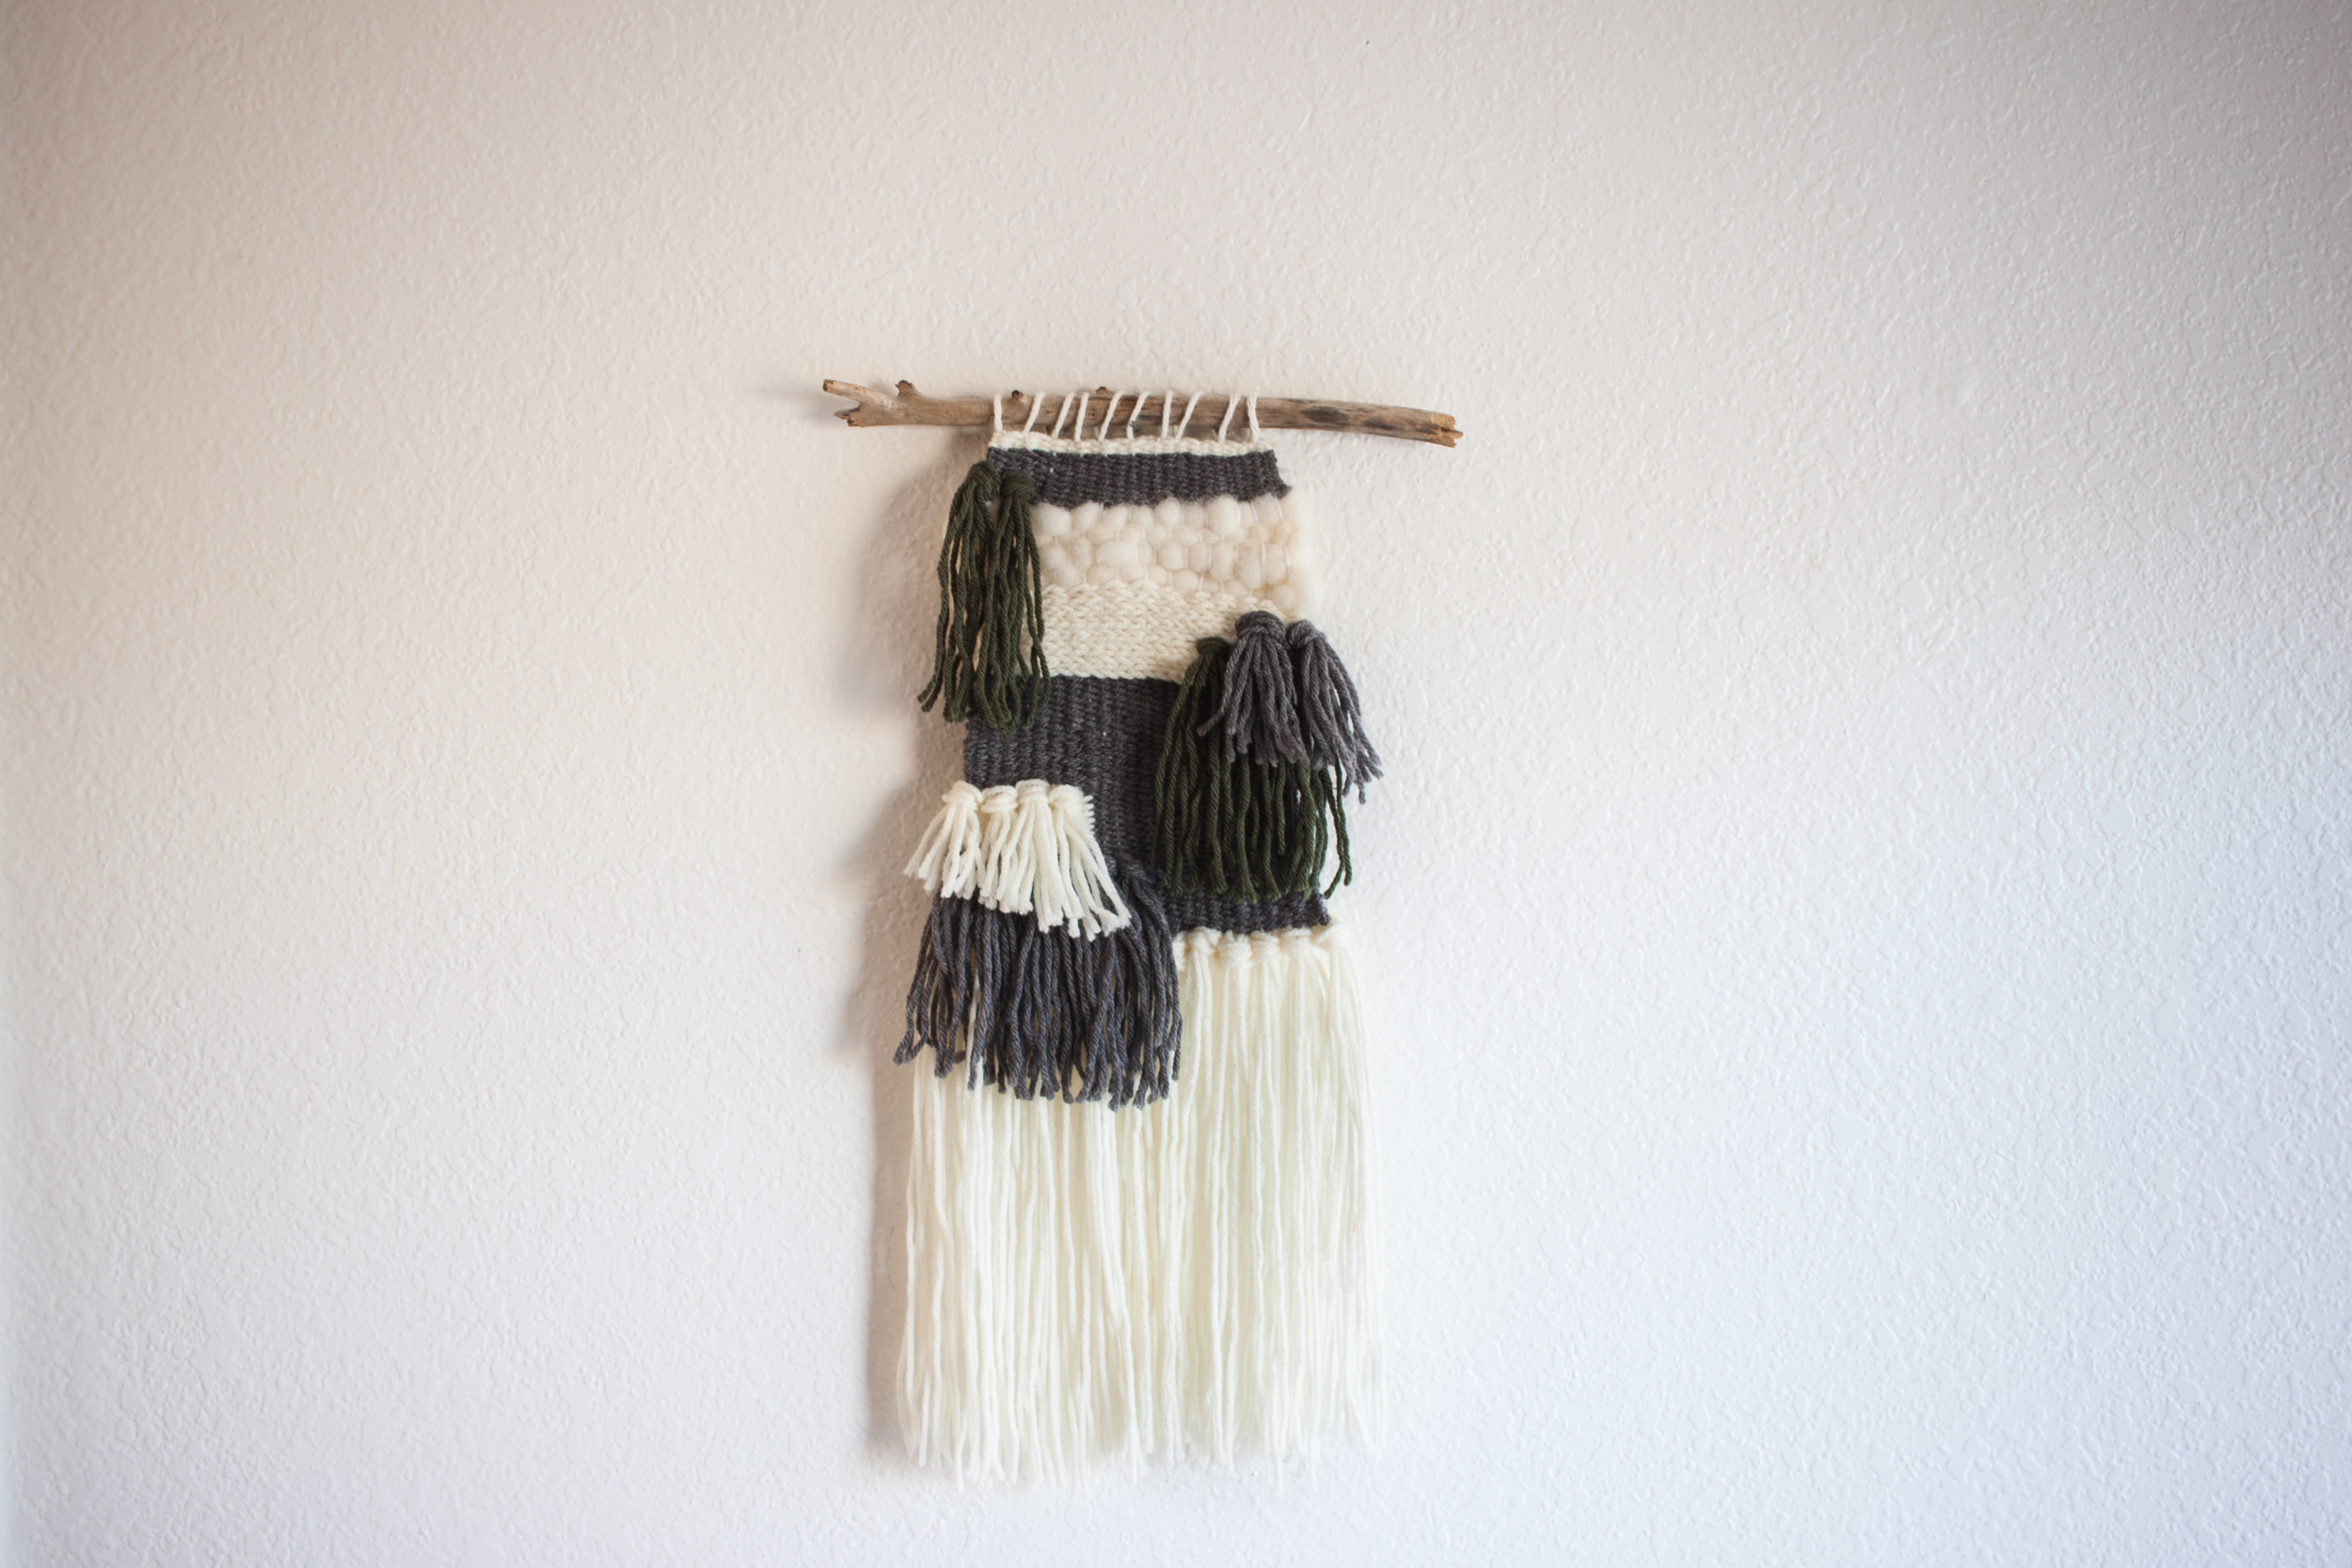
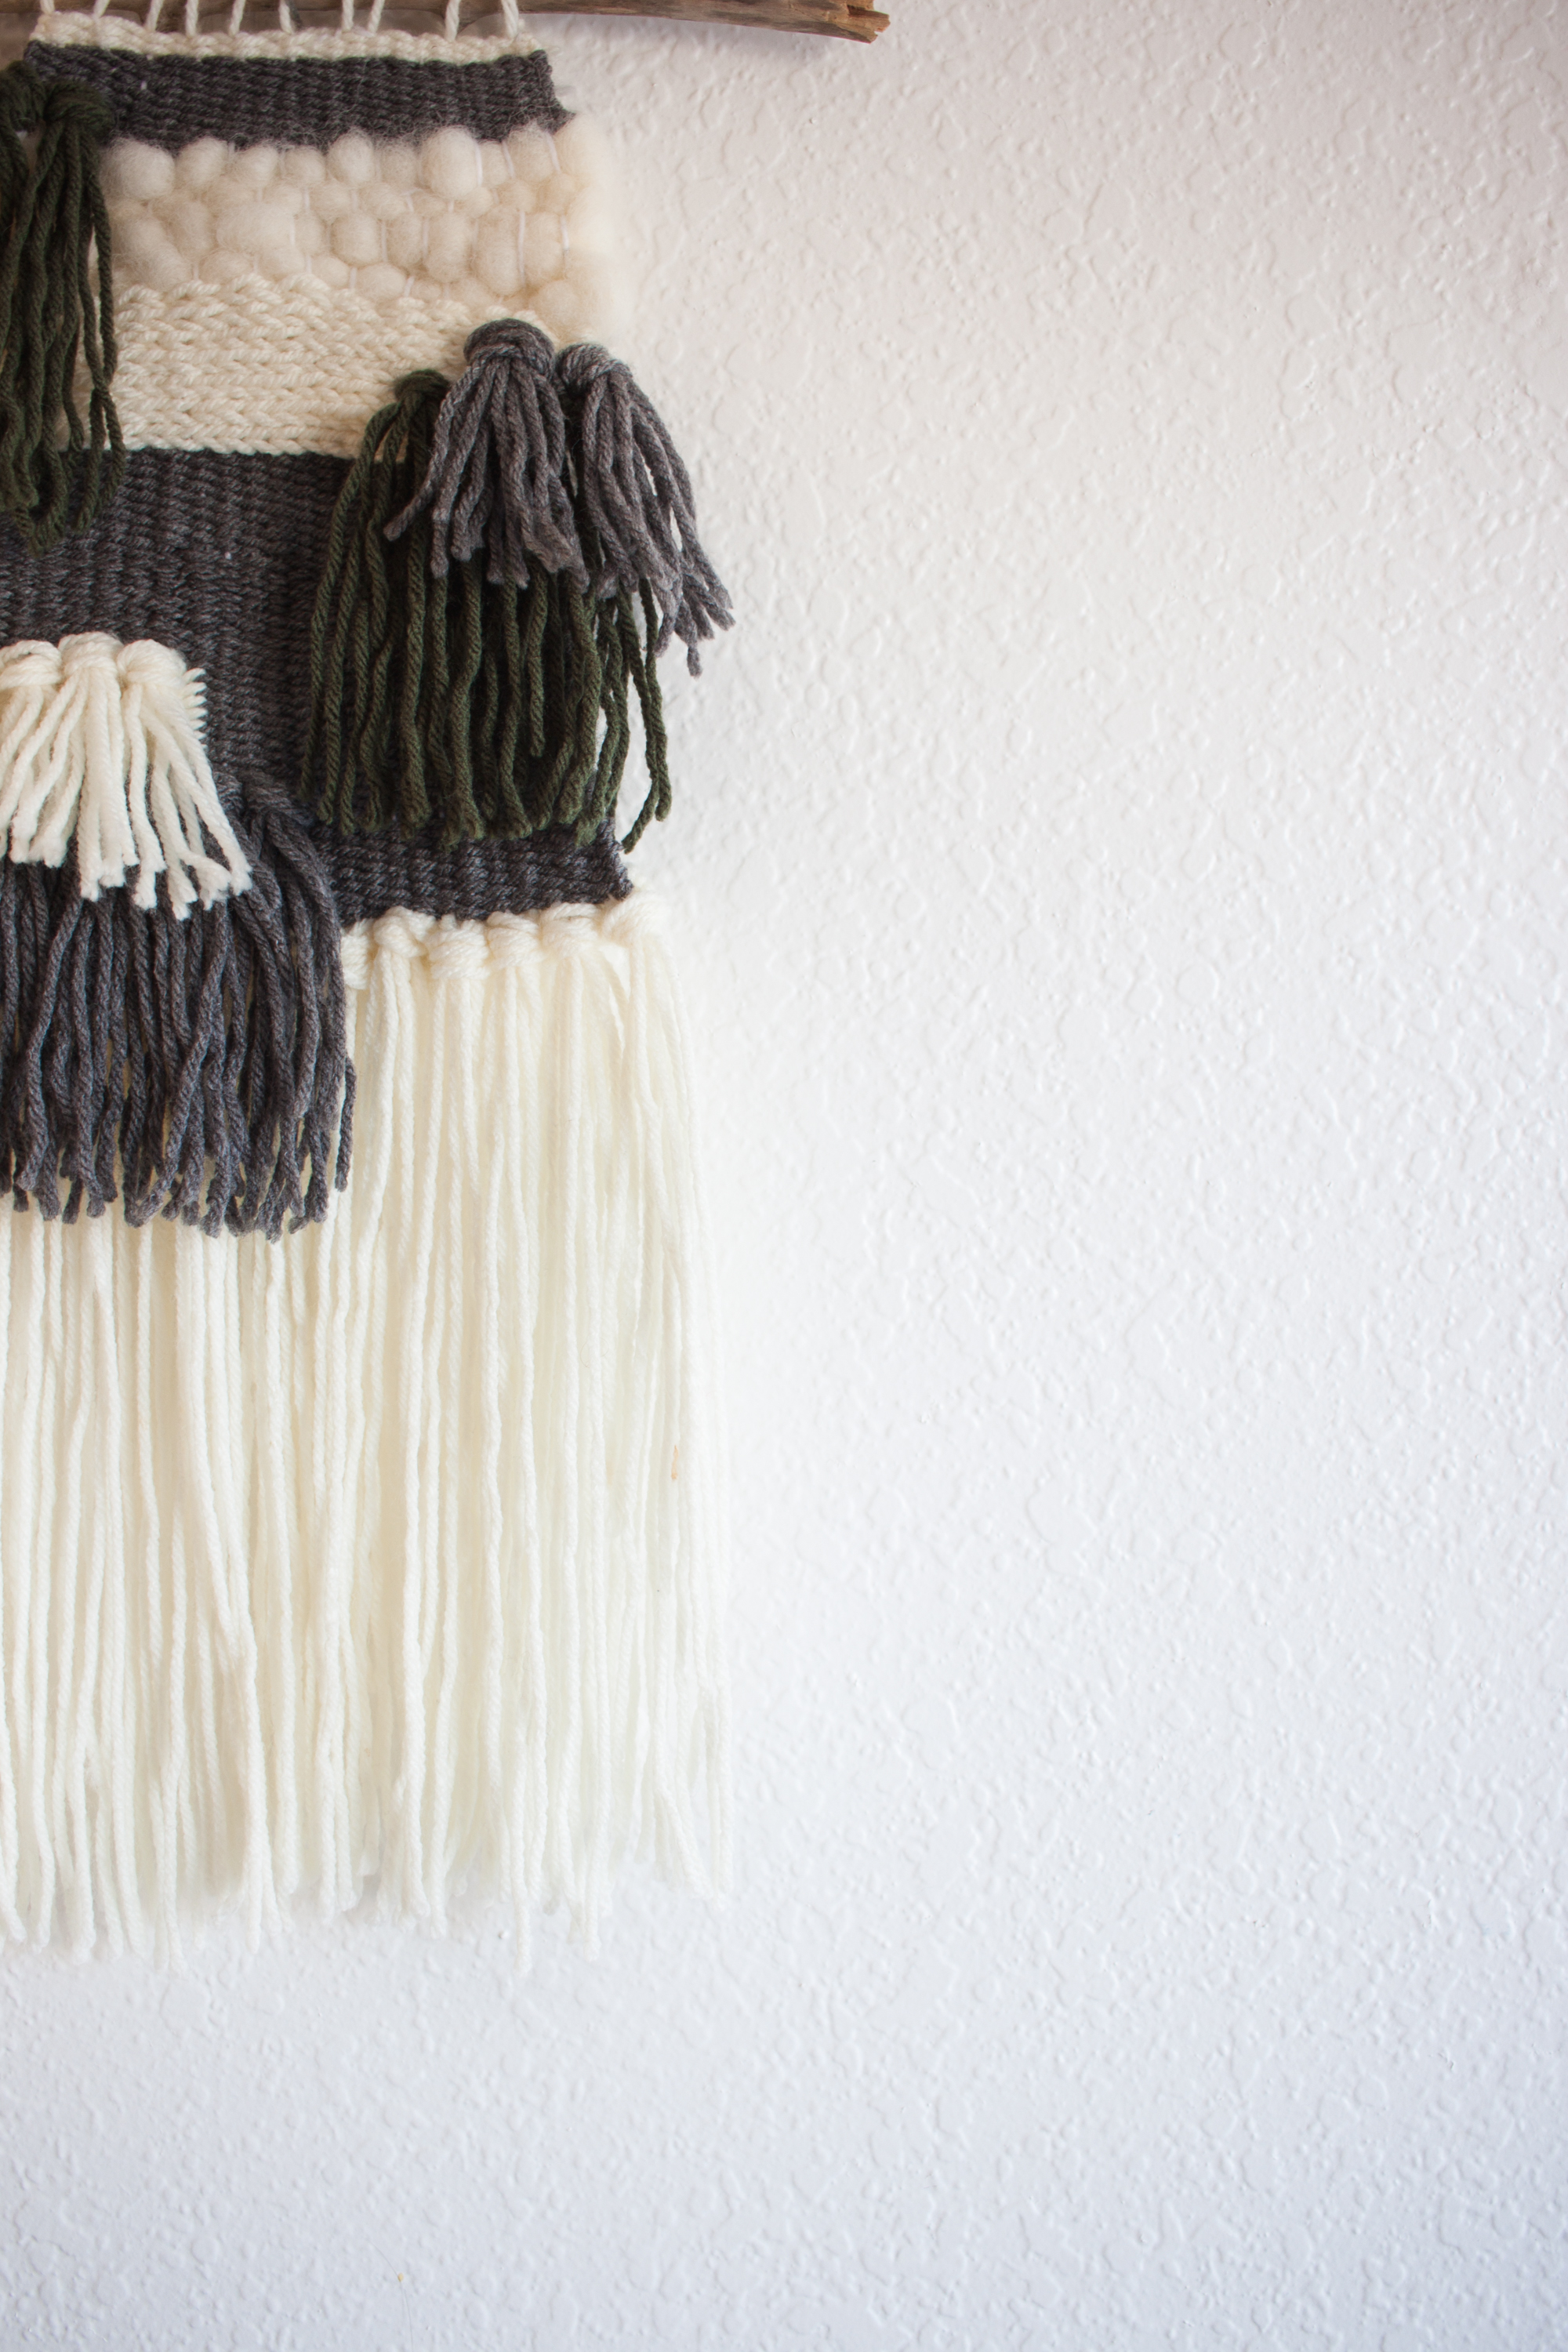
I chose to follow a pattern for my first go round – I didn't want my end product coming out looking like a little ol' shaggy rug attached to a stick. :)
Because I wasn't sure how much I'd enjoy my first weaving, I decided to use my leftover crochet yarn instead of buying new, fancy skiens. As it turns out, I don't hate this color combination, but I will definitely be more strategic in choosing colors for my next one. I will also get different weights of yarn for a more textured look. I did buy a small bag of wool roving from Michael's and am so glad that I did. I loved the puffy character it added to the hanging.
Lastly, I will definitely be making a better loom. My warps kept slipping all over the place and my stick didn't hold very well so the warp was not taught. This loom does not require much, just a measuring tape, wood, nails, screws, hammer, and drill. Easy enough! I love being a woman who knows how to use tools and make stuff – it's handy ;) I might also end up purchasing tapestry bobbins to make better use of my time. Puling through that yarn over and over again was making me nutty!

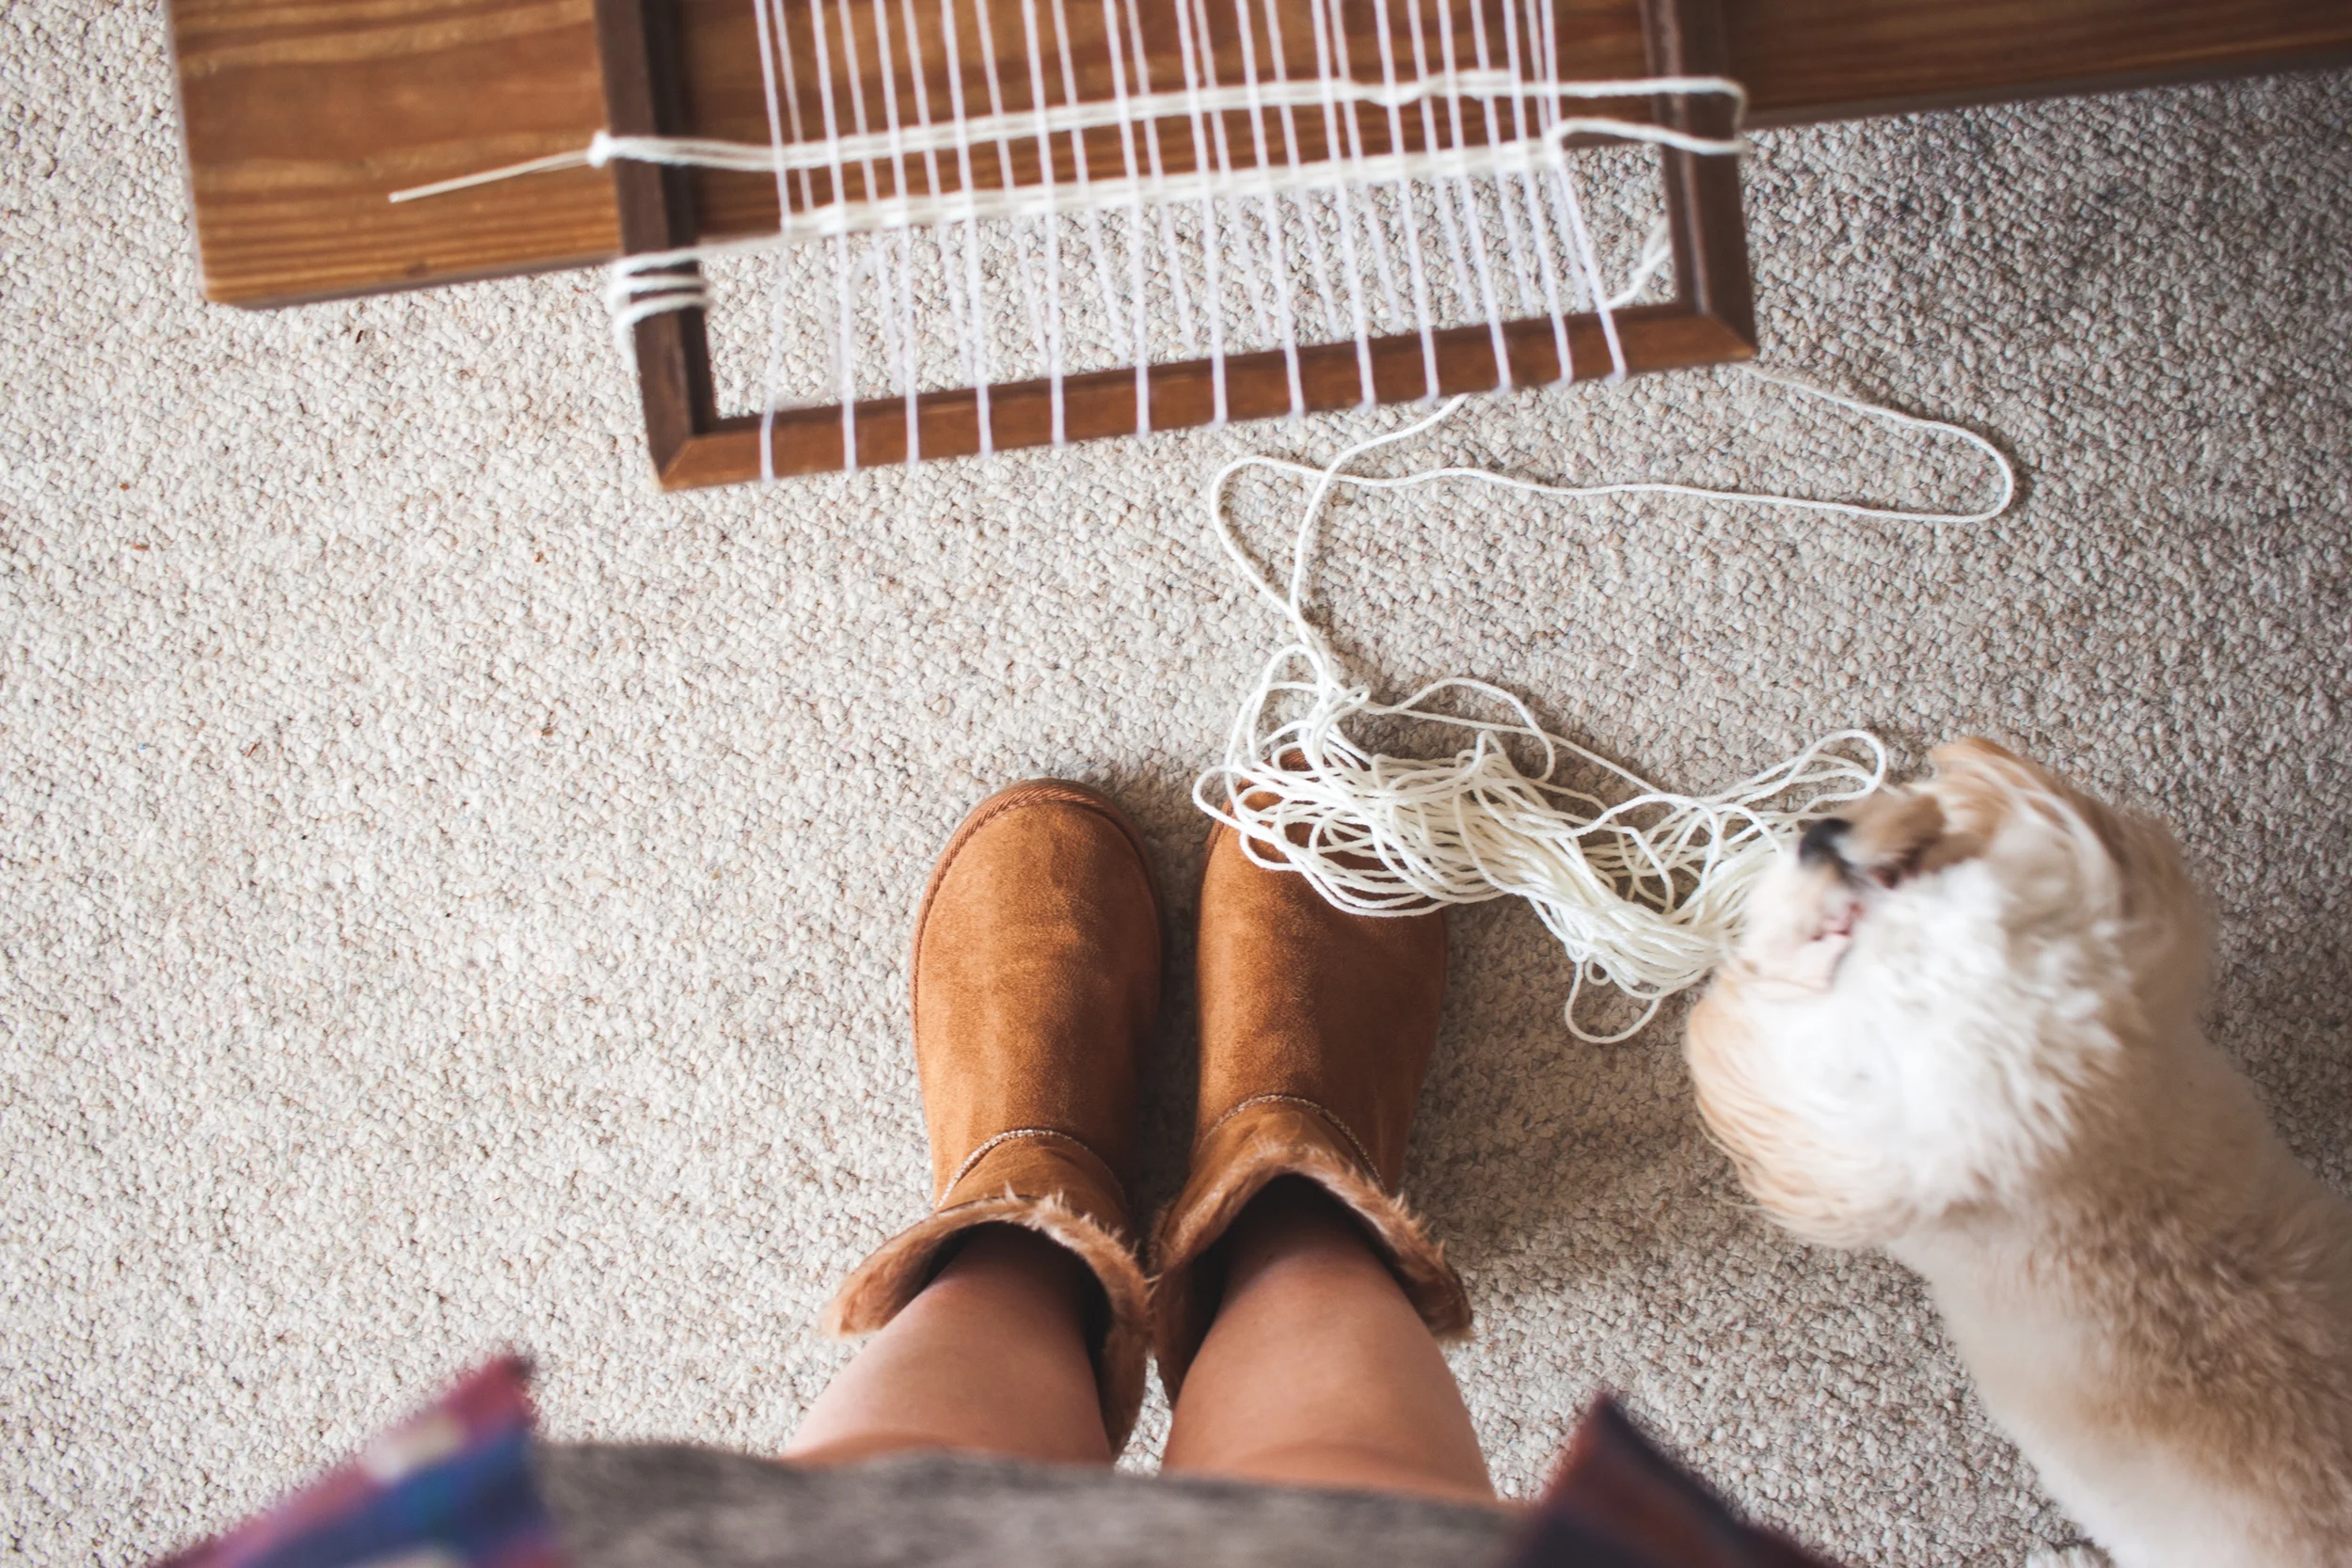
Ps. Sorry for the lack of "progress" pictures. I did the majority of this project in the car, on the way to Arizona last week.
Happy Weaving!